Big learning potential for smaller teams
Transform your business with an industry-leading LMS
Help employees grow with robust AEC & M assessments.
Supercharged features for next-level learning.
Basic Rail Design – Part 1: Course Introduction
In Basic Rail Design – Part 1, you will learn how to complete a basic rail design in Civil 3D. The rail design workflow is similar to roadway design, only different design criteria and specifications are used. Rail designs
utilize spirals to create smooth transitions in and out of curves, and, like roadways, employ cant (superelevation) to raise and lower rail elevations, thereby counteracting centrifugal forces. Civil 3D includes unique settings and design criteria for rail design that include measuring curves along chord lengths, rail alignment types, and rail assembly types. Civil 3D also features a Rail tab where you can access commonly used Rail tools.
Course Objectives
The material presented in this course teaches you:
Layout and edit a rail alignment Calculate and apply Cant to a rail alignment Layout and edit a rail profile Create a rail assembly Create and edit a rail corridor Report earthwork quantities Report material quantities
Course Prerequisites
To participate in this training course, you should have a basic understanding of the following:
Civil 3D Fundamentals
Course Duration: 154 Minutes
Tips:
Turn off your phone, and close your email, text, and social media apps.
Plug headphones or earbuds to your computer.
Go Full Screen when watching videos.
Basic Rail Design – Part 2: Course Introduction
In Basic Rail Design – Part 2, you will learn additional tools and methods essential to railway design. Like most infrastructure projects, railway projects are often unique and have distinct design requirements and challenges. This is often the case when designing the rail alignment and profile to retrofit an existing condition. In this course, we’ll look at various alternatives, best practices, and tips for railway design.
The videos in this course can be accessed in any order. They are not part of a comprehensive or sequential curriculum, but rather a flexible collection of standalone tips, tools, and insights intended to supplement the foundational rail design workflow covered in Part 1. Feel free to explore the topics most relevant to your needs, and leverage the exercise dataset to practice using the tools covered in this course.
The material presented in this course will teach you how to:
Lay out a rail alignment using tangents and preconfigured curve settings.
Lay out a best-fit alignment.
Lay out a rail alignment using Horizontal Regression analysis.
Lay out a best-fit profile.
Edit a stock rail assembly to meet your project needs.
Display, validate, and report corridor models.
Use corridor targets and transitions.
Report rail quantities using Sample Lines.
Basic Rail Design – Part 1
Multi-Track Rail Design: Course Introduction
This Civil 3D training course provides a comprehensive workflow for multi-track rail design, from initial alignment setup to advanced corridor modeling and detailing. You’ll learn how to create offset alignments, profiles, turnouts, and crossovers, then build and refine multi-track assemblies and corridor regions using dynamic relationships for accuracy and flexibility. The course also covers advanced tasks such as adding platforms, skeleton tracks, and rail lines, as well as troubleshooting and optimizing corridor surfaces for construction-ready models.
The material presented in this course teaches you how to:
Create offset alignments and profiles Create crossovers and turnouts Work with diverted alignments and profiles Build-out multi-track rail assemblies Model advanced rail corridors Use skeleton tracks in rail corridors Add platforms to a rail design Create and edit rail lines
Basic understanding of Autodesk Civil 3D
Completed Basic Rail Design Part 1 & 2
Course Duration: 180 Minutes
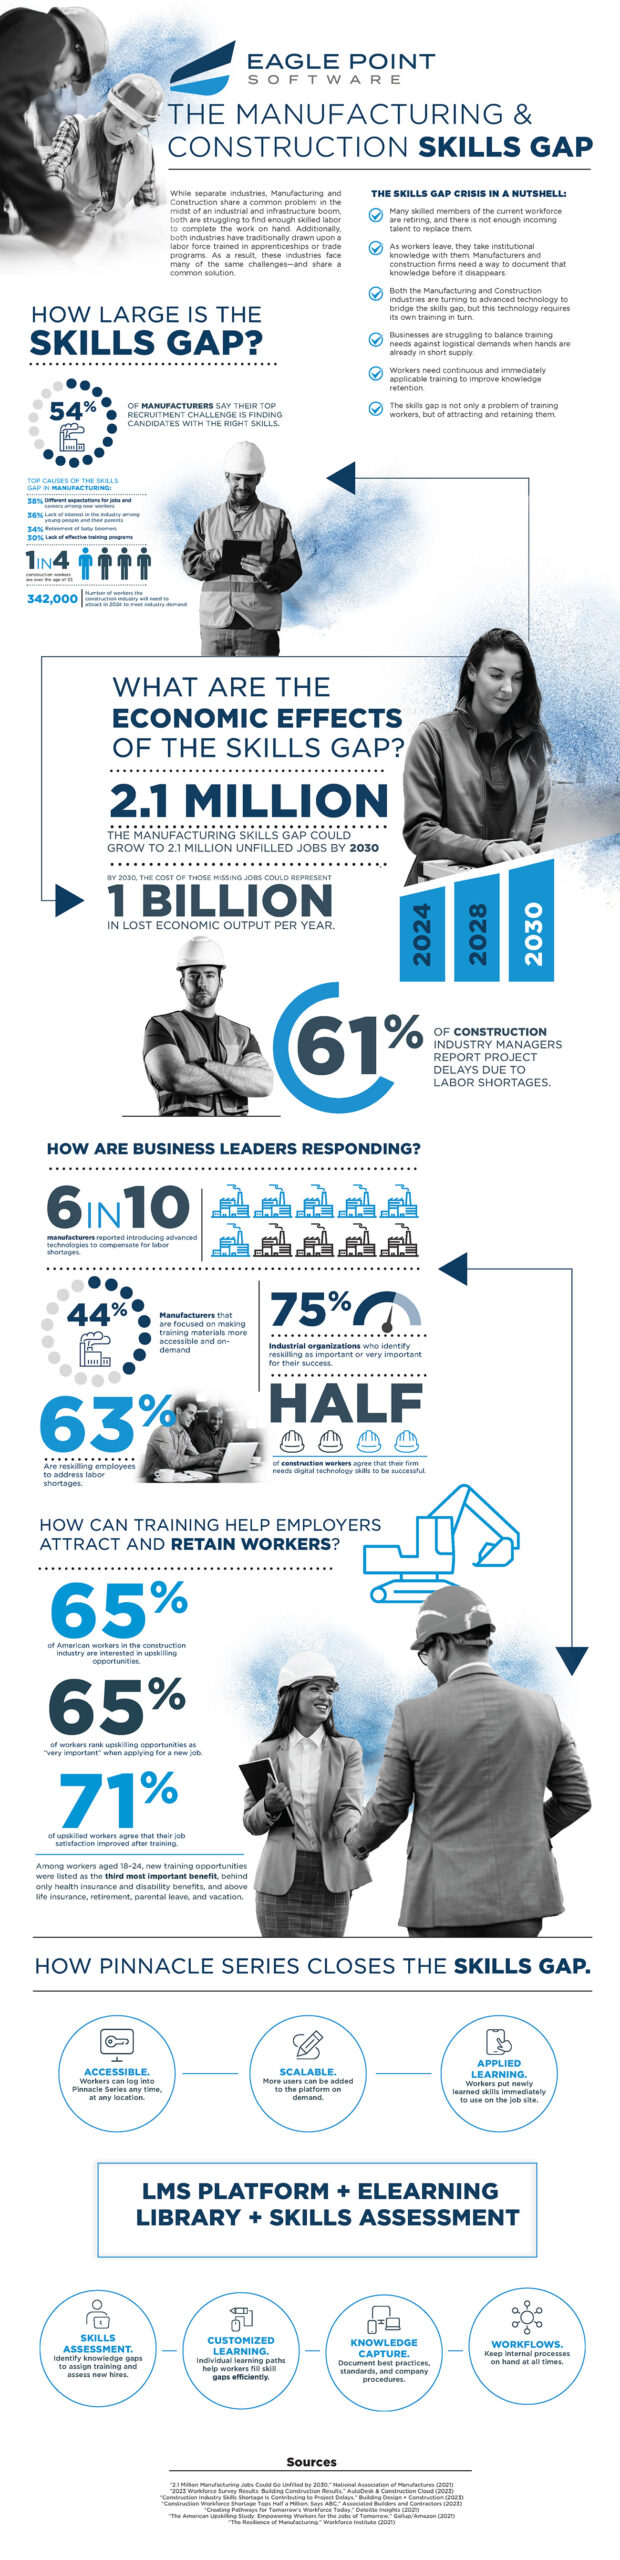
We went deep into the latest market research and created a resource to give you fresh insight into your recruitment challenges.